Using MAX Plugins
Duplicate of Using Max Assets
Introduction
This document was made with 3DS Max 7.0.
The purpose of this guide is to show how to use the plugins you will receive to make content for the game. Always stay up to date with the current build of plugins. Always uninstall older versions before installing new ones.
Getting Started
After you have completed the installation of the new plugins, launch 3DS MAX.
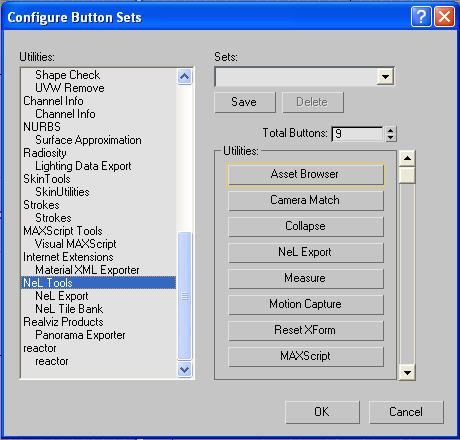
Once MAX has loaded, click the [Utilities] tab on the right side of the interface. Click [Button Sets] to add NeL Export to the list. The [Button Sets Window] will pop up, scroll down to find NeL Tools. Drag NeL Export to the right panel to replace it with something already on the list, press ok when finished.
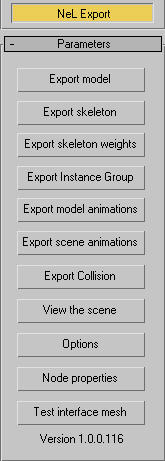
Now that you have the NeL Export added to the [Utilities] tab, click on it and notice the buttons that are shown below parameters roll out.
- Export Model: exports mesh data as .shape files.
- Export Skeleton: exports the biped as a .skel file. This is used to deform the mesh for animation.
- Export Skeleton Weights: exports a set of weights that a .shape file can use to deform the mesh differently than the original weights exported with the mesh.
- Export Instance Group: exports information about a group so buildings can be drawn in the engine properly.
- Export Model Animations: exports animations from a biped as an .anim file. This file can be loaded into the viewer and played back on a model for review.
- Export Scene animations:
- Export Collision:
- View The Scene: launch the ObjectViewer with the selected meshes.
- Options: displays options that are available for the scene.
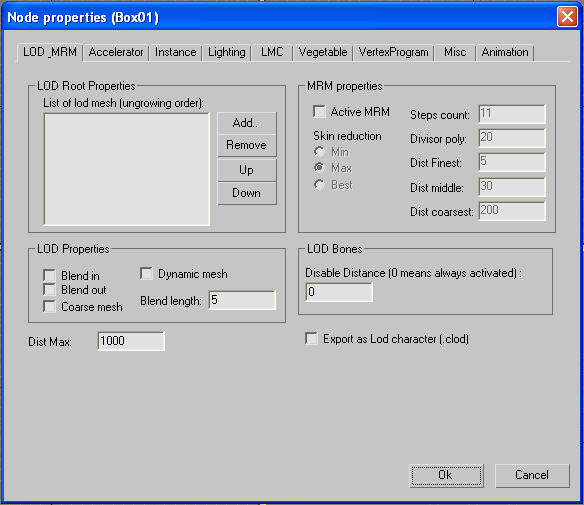
- Node Properties: Displays properties for objects being exported to the game engine. These properties are important to allow the content to be viewed correctly in game.
- Test Interface Mesh: Tests the interface mesh scene file specified in the node properties. This scene file is a .max file that specifies how MRM will handle the different parts in a multi part mesh.
Each of these buttons has criteria important to make the exported file work properly. Most of these important criteria are located in the [Node Properties]. Click [Node Properties] and continue to the next section for an overview.
Node Properties: LOD_MRM
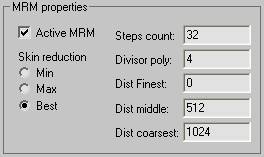
The LOD_MRM page contains the properties for Level Of Detail and Multi Resolution Mesh. MRM properties section is the first section we will look at. The [Active MRM] check box is how MRM is turned on, once you turn this on the other fields in this section become editable. These are our current settings...
Also do not forget to set [Dist Max] to 1024. At the current time the other parameters we are not using.
Node Properties: Accelerator
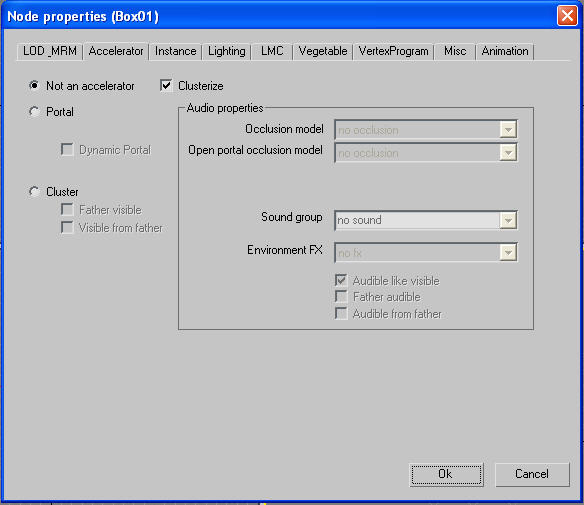
The [Accelerator] tab is used for our cluster system which we will go into more detail in the Cluster System Guide. The Cluster System is our props and environment system. When you build a structure you will set its properties in this panel before export. If a mesh is part of a child of cluster, the default properties are correct. If you're exporting the parent of a cluster then you will click the radio button next to [Cluster]. More information about the appropriate settings for exporting a cluster system is covered in the Cluster System Guide.
Node Properties: Instance
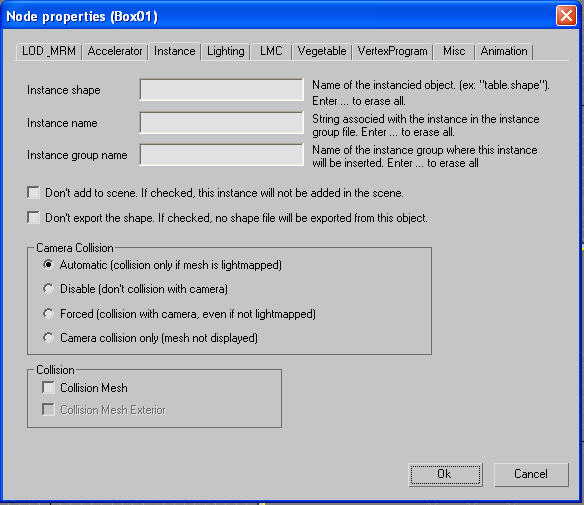
TODO
Node Properties: Misc
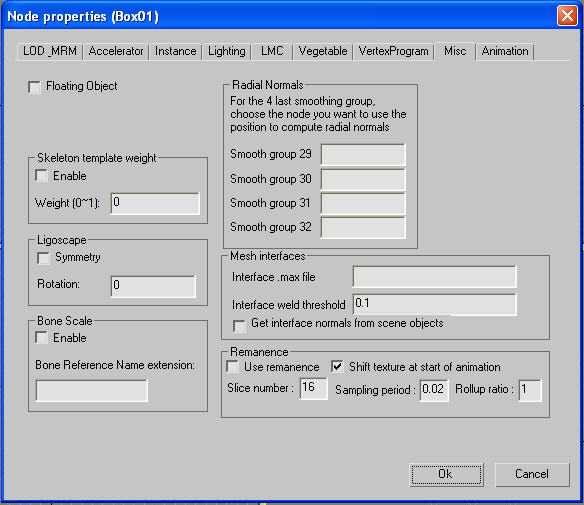
We are currently only using the [Mesh interfaces] section in the [Misc] Tab. In the [Mesh Interfaces] section there is a field for [Interface .max file]. This field is filled out with the path name where the .max file is located. The [Interface weld threshold] field is where you set the distance the weld operation will look for vertices to weld. The [Get interface normals from scene objects] check box will tell how to compute the normals at the boundary vertices during export.
TODO: More info on MRM
Exporting a Mesh
When you have finished modeling an object you can now export to the game engine. A mesh can contain texture coordinates, texture map assignment, and skeleton weights. Neither of these is required to actually go through the process of exporting. So it is advised to actually test your export in the object viewer through out the creation process.
Let's start with This button exports mesh data as a .shape file which is read by the viewer and game engine. The mesh needs to go through some requirements to be worthy for our game.
- Mesh's pivot is set to 0,0,0
- Xform has been reset
- UV mapped
- NeL material/texture applied
- Weighted using physique for characters (complete rigging covered in the Character Creation Guide)
- If weighted to Biped figure mode needs to be active during export
- Node properties filed out correctly...
o Multi-Resolution Mesh
o Interface Mesh for Characters with multiple parts - Proper Naming Convention
When you press [Export Model] a dialog box will appear asking for location and filename for the .shape file you are creating.
Exporting a Skeleton
Knowledge of Character Studio would be a great help for this section. CS is pretty easy and artist friendly to get started, but it has its quirks and problems. This section will be outlining proper exporting of a biped/skeleton already completed. The Character Creation Guide will have complete instructions on how to use CS the best for Talaus.
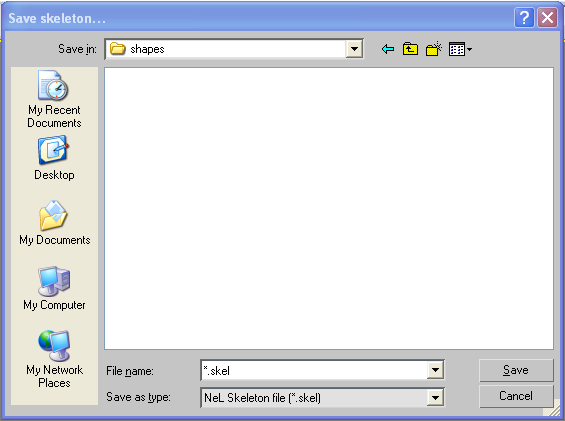
Exporting a skeleton can only be done when the biped is in figure mode. Select any one of the bones in your skeleton and click on the [Motion Panel] image018.png. Now click the [Figure Mode] button image020.png. Now you are in Figure Mode. If you want to do any type of animation DO NOT forget to turn off Figure Mode. This insures your rigs initial state is not damaged by moving and setting keyframes while still in Figure Mode. Now that your in Figure Mode, go to your [NeL Tools] and click [Export Skeleton] . A dialog box will appear asking where and what name to save the .skel file.
Name the .skel file using the appropriate naming convention.
Exporting Model Animations
When you have completed the animation(s) you will export them as an .anim file(s). When you're animating you need to animate in "cycles" or "clips". These animations can be looped and mixed together in game. So a walk can turn into a run gradually or sharply without any noticeable popping.
When your ready to export first, make sure you are NOT in [Figure Mode]. Then select the bip 01 of your biped and click [Export Model Animations] . The dialog will appear, save the .anim file in the appropriate folder and with the proper naming convention.
Exporting an Instance Group
An Instance Group is used in our cluster system or housing/building system. Our cluster system is a set of clusters and portals. Clusters contain many different mesh pieces that make up the building. A single Cluster system is associated with one Instance Group. Just select the entire instance group then press [Export Instance Group] . The dialog box will appear and you will name the .ig file using the appropriate naming convention.


