...
1. Download the asset repository to C:\Database. (http://media.ryzom.com/)
2. Download the client to C:\ryzom_client. (http://sourceforge.net/projects/ryzom/files/)
3. Compiled all sources and can run and connect to your own server. (http://dev.ryzom.com/projects/ryzom/wiki/Guide)
4. Compiled,installed and loaded the NeL plugins for 3DSMAX. (http://dev.ryzom.com/projects/ryzom/wiki/InstallingMaxPlugins)
5. Installed python 2.6.6. (http://www.python.org/)
6. Downloaded the ryzom_assets_newbieland and merged it into C:\database. (http://sourceforge.net/projects/ryzom/files/)
7. Converted the ryzom_assets database. (http://dev.ryzom.com/projects/ryzom/wiki/Convertingryzom_assetsDatabase)
8. Compiled or downloaded Object Viewer QT (http://dev.ryzom.com/projects/ryzom/wiki/Object-viewer-qt)
9. Setup three virtual drives (w: that points to drive c: | r: that points to c:\ryzom | l: that points to r:\code\ryzom\common\data_leveldesign). (http://en.wikipedia.org/wiki/Subst)


1. 3D model defaults
If you not know modeling, watch tutorial´s in Youtube, sample:
3ds max character modeling tutorial part1:
http://www.youtube.com/watch?v=1NWHUOvo69w
...
This is an sample (Tryker) about object groups:
_visage
...
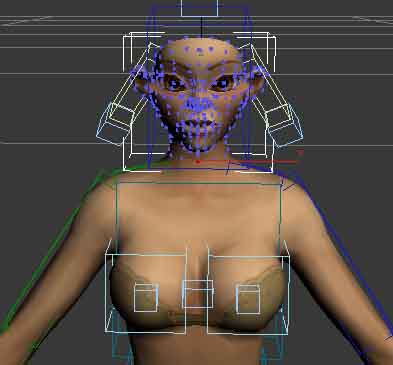
_armpad
...
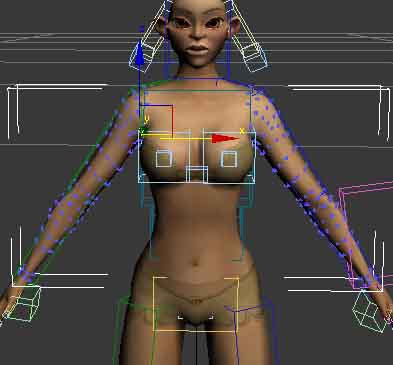
_gilet
...
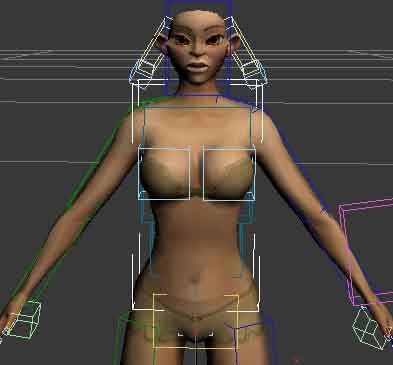
_pantabottes
...
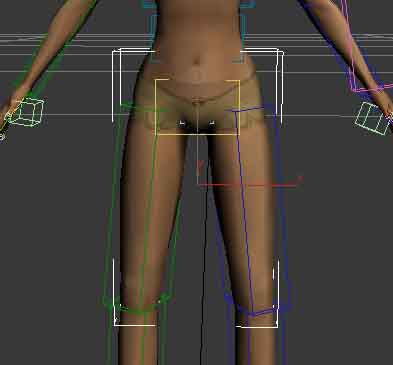
_bottes
...
(Step 2). For Detach your model and make it in various objects.
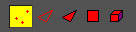
(Step 2.1). Click in Modify  Modify
  , Click in Editable Mesh
  Mesh
Mesh  , Click in Vertex
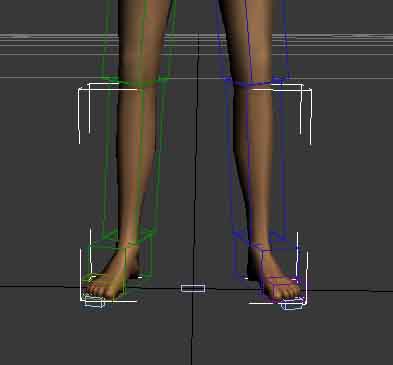
(Step 2.2). Select the Vertex do you want to separate object (sample: bottes)
...

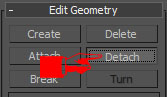
(Step 2.3). Click in Detach 
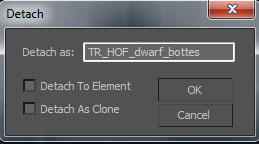
(Step 2.4). Naming the Object and OK
...
(STEP 2.5). Repeat the STEP´s 2.2, 2.3, 2.4 with the _visage _armpad _gilet _pantabottes
...